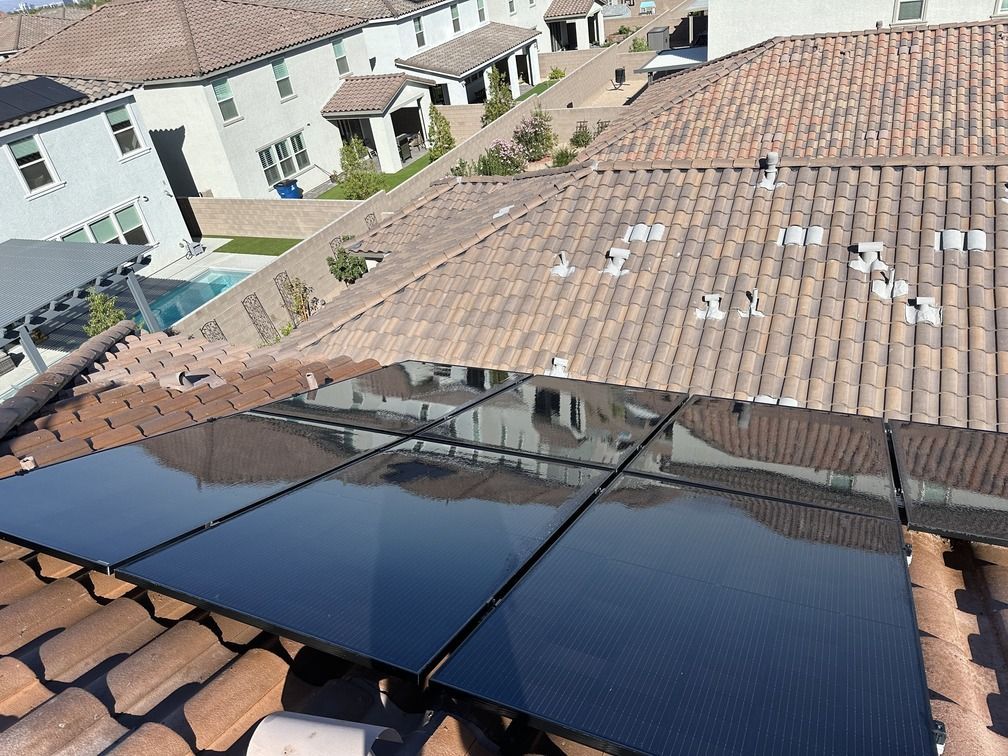
The Importance of Removing Dirt, Dust, and Debris from Solar Panels
Solar panels are a significant investment designed to harness the sun’s energy and convert it into electricity. However, their efficiency can be greatly compromised by the accumulation of dirt, dust, and debris. Ensuring that your solar panels are clean through regular solar panel cleaning is crucial for maintaining optimal performance and protecting your investment.
Impact of Dirt, Dust, and Debris on Solar Panels:
- Reduced Efficiency
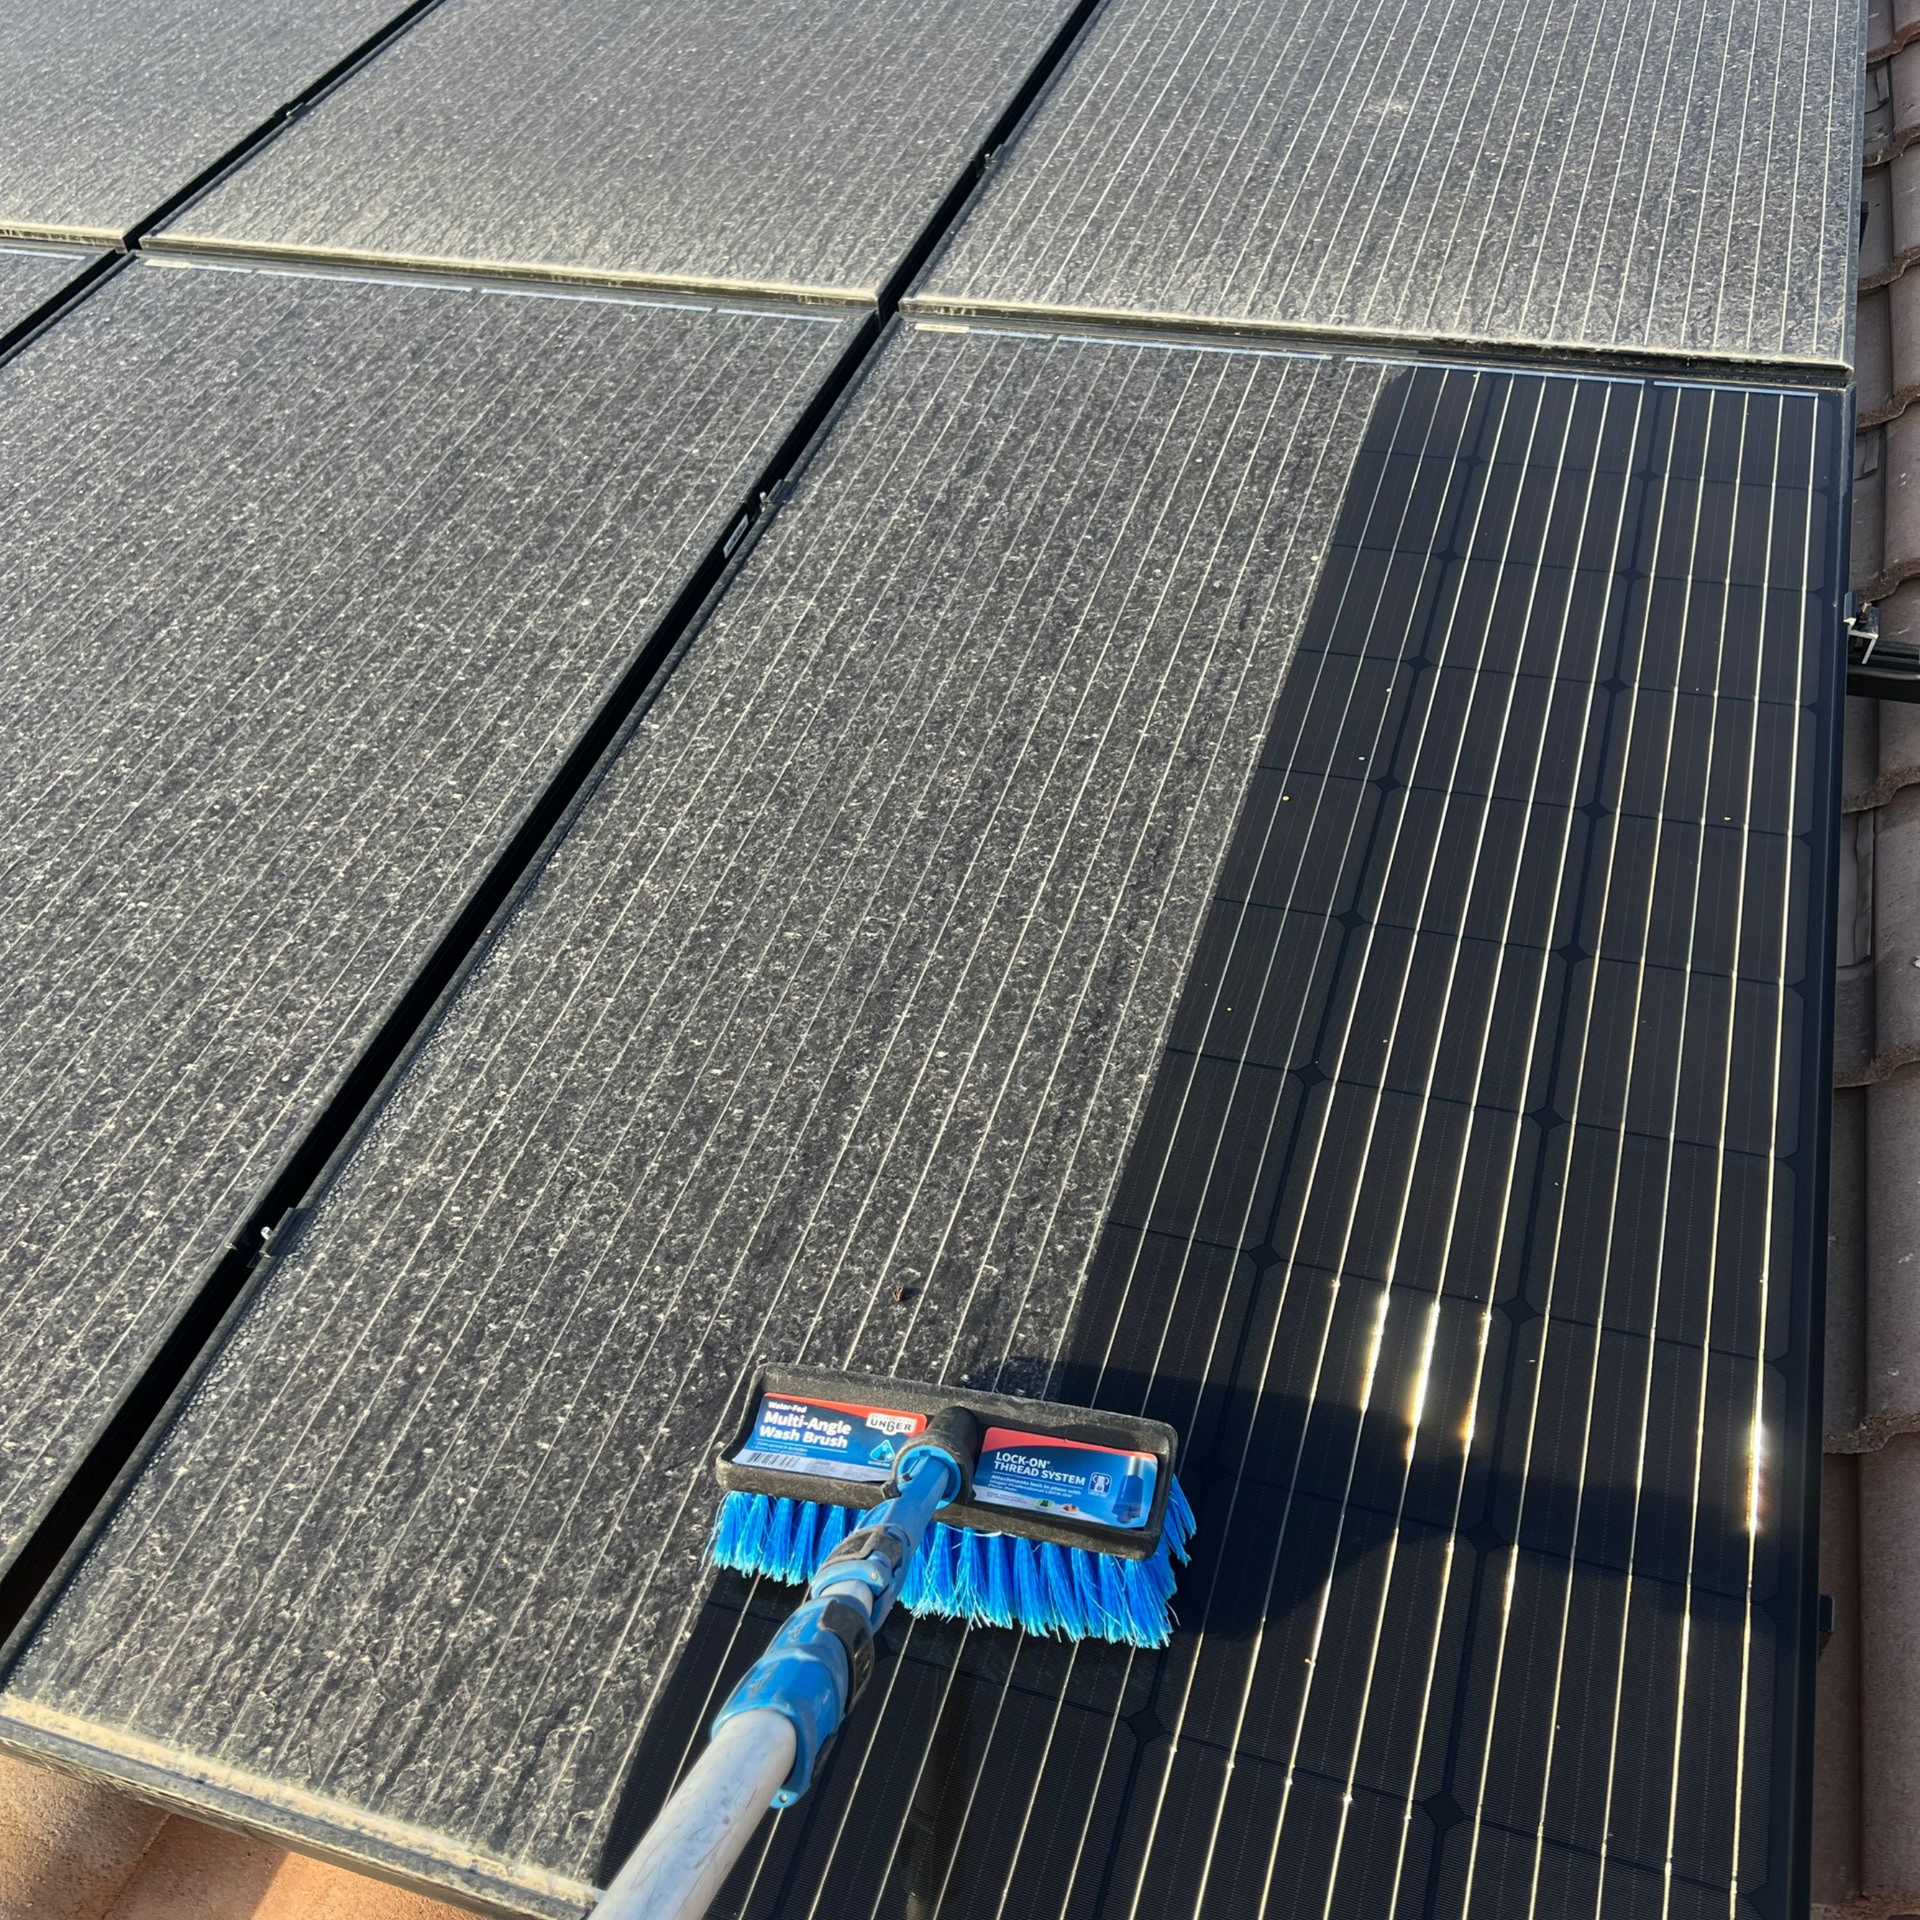
Dirt, dust, and debris create a layer on the surface of the solar panels that obstructs sunlight. Even a thin layer of dust can significantly reduce the amount of sunlight reaching the photovoltaic cells, thereby decreasing the panels' efficiency. Studies have shown that dirty panels can experience efficiency losses of up to 25% or more, depending on the level of dirt accumulation. Regular solar panel maintenance in Las Vegas, including professional solar cleaning, helps prevent this issue and ensures your panels operate at peak performance.
- Long-term Damage
When dirt and debris accumulate and are not cleaned regularly, they can lead to more serious issues. For instance, bird droppings and pollen can harden over time, becoming difficult to remove and potentially causing scratches or damage to the panels during cleaning. Additionally, the sediment can lead to hotspots, where certain parts of the panel get overheated, potentially damaging the cells and affecting overall performance. Using services from the best solar panel cleaners in Las Vegas can help mitigate these risks by providing thorough solar panel grime removal.
- Aesthetic Appeal
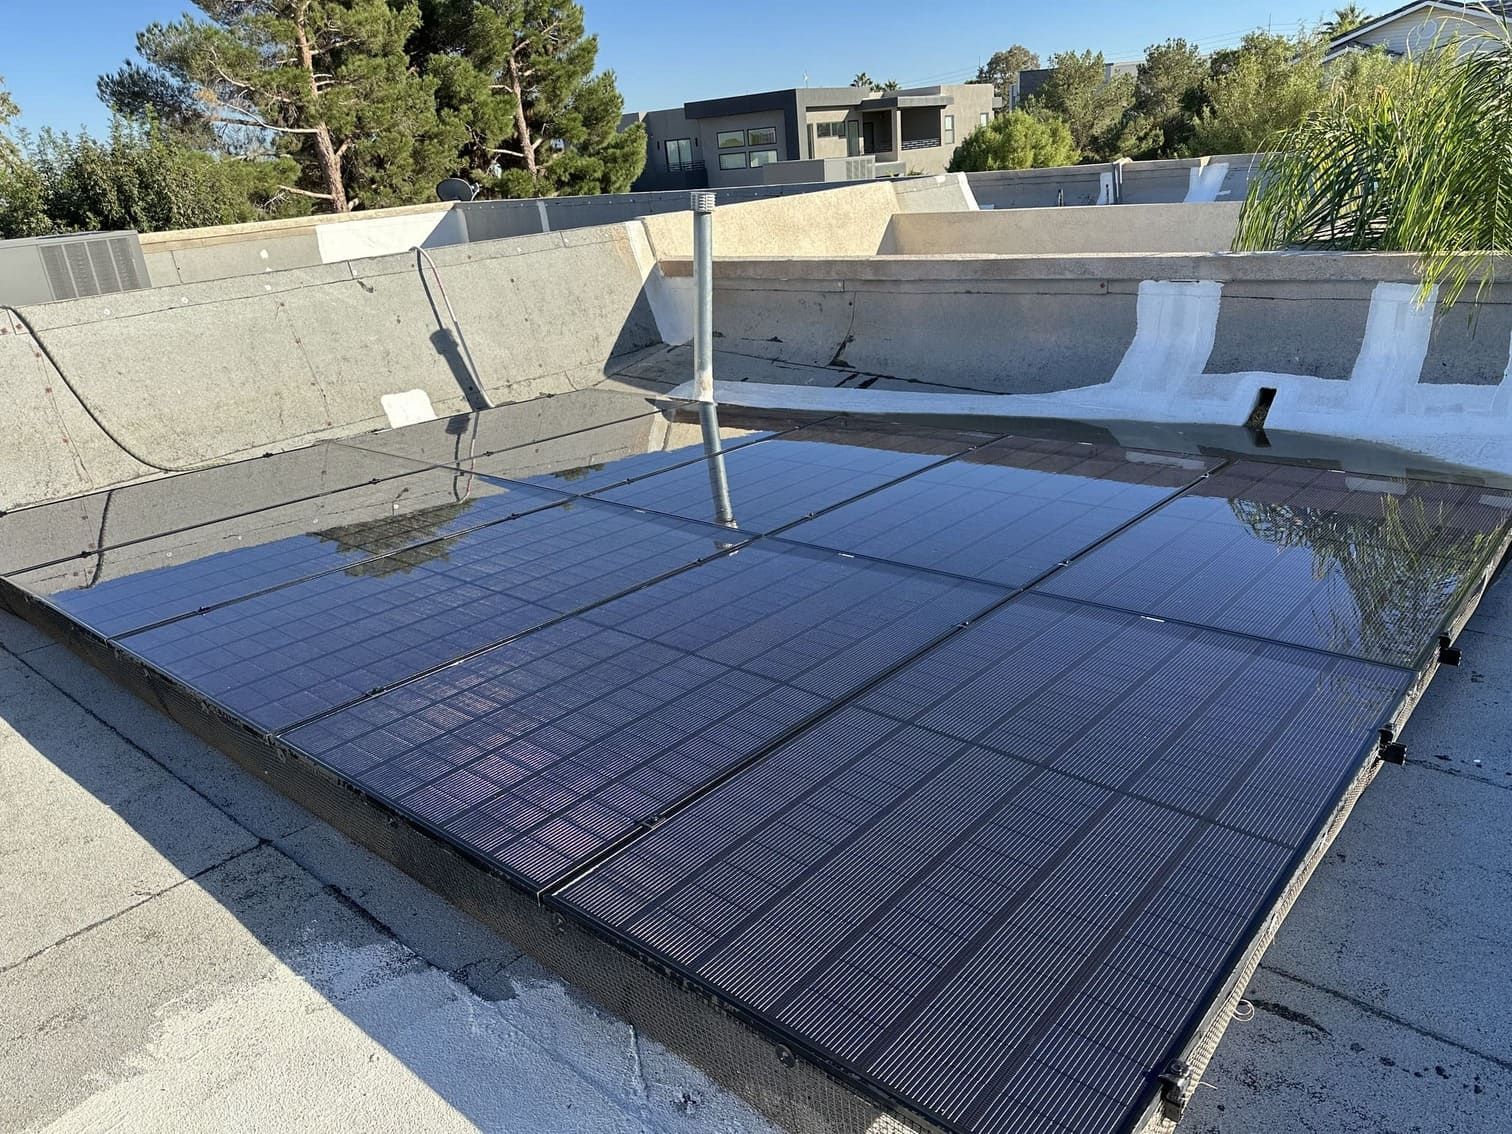
Clean solar panels not only perform better but also look better. This is particularly important for residential, as well as for commercial properties where the aesthetic appeal can impact property value and perception. With our eco-friendly solar panel cleaning services in Las Vegas we ensure that your panels are spotless, improving both their efficiency and appearance.
The Importance of Removing Dirt, Dust, and Debris from Solar Panels
Solar systems are a significant investment designed to harness the sun’s energy and convert it into electricity. However, their efficiency can be greatly compromised by the accumulation of dirt, dust, and debris. Ensuring that your panels are clean is crucial for maintaining optimal performance and protecting your investment.
Impact of Dirt, Dust, and Debris on Solar Panels:
- Reduced Efficiency
Dirt, dust, and debris create a layer on the surface of the solar panels that obstructs sunlight. Even a thin layer of dust can significantly reduce the amount of sunlight reaching the photovoltaic cells, thereby decreasing the panels' efficiency. Studies have shown that dirty panels can experience efficiency losses of up to 25% or more, depending on the level of dirt accumulation.
- Long-term Damage
When dirt and debris accumulate and are not cleaned regularly, they can lead to more serious issues. For instance, bird droppings and pollen can harden over time, becoming difficult to remove and potentially causing scratches or damage to the panels during cleaning. Additionally, the sediment can lead to hotspots, where certain parts of the panel get overheated, potentially damaging the cells and affecting the overall performance.
- Aesthetic Appeal
Clean solar panels not only perform better but also look better. This is particularly important for residential properties and businesses where the aesthetic appeal can impact property value and perception.